Practice Free CKA Exam Online Questions
SIMULATION
Score: 4%
Task
Schedule a pod as follows:
• Name: nginx-kusc00401
• Image: nginx
• Node selector: disk=ssd
#yaml
apiVersion: v1
kind: Pod
metadata:
name: nginx-kusc00401
spec:
containers:
– name: nginx image: nginx imagePullPolicy: IfNotPresent nodeSelector:
disk: spinning
#
kubectl create -f node-select.yaml
SIMULATION
Score: 7%

Task
Create a new NetworkPolicy named allow-port-from-namespace in the existing namespace echo. Ensure that the new NetworkPolicy allows Pods in namespace my-app to connect to port 9000 of Pods in namespace echo.
Further ensure that the new NetworkPolicy:
• does not allow access to Pods, which don’t listen on port 9000
• does not allow access from Pods, which are not in namespace my-app
#network.yaml
apiVersion: networking.k8s.io/v1
kind: NetworkPolicy
metadata:
name: allow-port-from-namespace
namespace: internal
spec:
podSelector:
matchLabels: {
}
policyTypes:
– Ingress ingress:
– from:
– podSelector: {
}
ports:
– protocol: TCP port: 8080 #spec.podSelector namespace pod kubectl create -f network.yaml
2 https://web.k8s.local
SSH into cka000048b
Update the nginx-config ConfigMap in the nginx-static namespace to allow TLSv1.2 Ensure the nginx-static Deployment picks up the new config Verify the change using the provided curl command
Step-by-Step Instructions
Step 1: SSH into the correct host
ssh cka000048b
Step 2: Get the ConfigMap
kubectl get configmap nginx-config -n nginx-static -o yaml > nginx-config.yaml
Open the file for editing:
nano nginx-config.yaml
Look for the TLS configuration in the data field.
You are likely to find something like:
ssl_protocols TLSv1.3;
Modify it to include TLSv1.2 as well:
ssl_protocols TLSv1.2 TLSv1.3;
Save and exit the file.
Now update the ConfigMap:
kubectl apply -f nginx-config.yaml
Step 3: Restart the NGINX pods to pick up the new ConfigMap
Pods will not reload a ConfigMap automatically unless it’s mounted in a way that supports dynamic reload and the app is watching for it (NGINX typically doesn’t by default).
The safest way is to restart the pods:
Option 1: Roll the deployment
kubectl rollout restart deployment nginx-static -n nginx-static Option 2: Delete pods to force recreation
kubectl delete pod -n nginx-static -l app=nginx-static
Step 4: Verify using curl
Use the provided curl command to confirm that TLS 1.2 is accepted:
curl –tls-max 1.2 https://web.k8s.local
A successful response means the TLS configuration is correct.
Final Command Summary
ssh cka000048b
kubectl get configmap nginx-config -n nginx-static -o yaml > nginx-config.yaml nano nginx-config.yaml # Modify to include "ssl_protocols TLSv1.2 TLSv1.3;" kubectl apply -f nginx-config.yaml
kubectl rollout restart deployment nginx-static -n nginx-static
# or
kubectl delete pod -n nginx-static -l app=nginx-static
curl –tls-max 1.2 https://web.k8s.local
SIMULATION
Score: 7%
Task
Reconfigure the existing deployment front-end and add a port specification named http exposing port 80/tcp of the existing container nginx.
Create a new service named front-end-svc exposing the container port http.
Configure the new service to also expose the individual Pods via a NodePort on the nodes on which they are scheduled.
kubectl get deploy front-end
kubectl edit deploy front-end -o yaml
#port specification named http
#service.yaml
apiVersion: v1
kind: Service
metadata:
name: front-end-svc
labels:
app: nginx
spec:
ports:
– port: 80 protocol: tcp name: http selector: app: nginx type: NodePort
# kubectl create -f service.yaml
# kubectl get svc
# port specification named http
kubectl expose deployment front-end –name=front-end-svc –port=80 –tarport=80 –type=NodePort
SIMULATION
Score: 5%
Task
From the pod label name=cpu-utilizer, find pods running high CPU workloads and write the name of the pod consuming most CPU to the file /opt/KUTR00401/KUTR00401.txt (which already exists).
kubectl top -l name=cpu-user -A
echo ‘pod name’ >> /opt/KUT00401/KUT00401.txt
SIMULATION
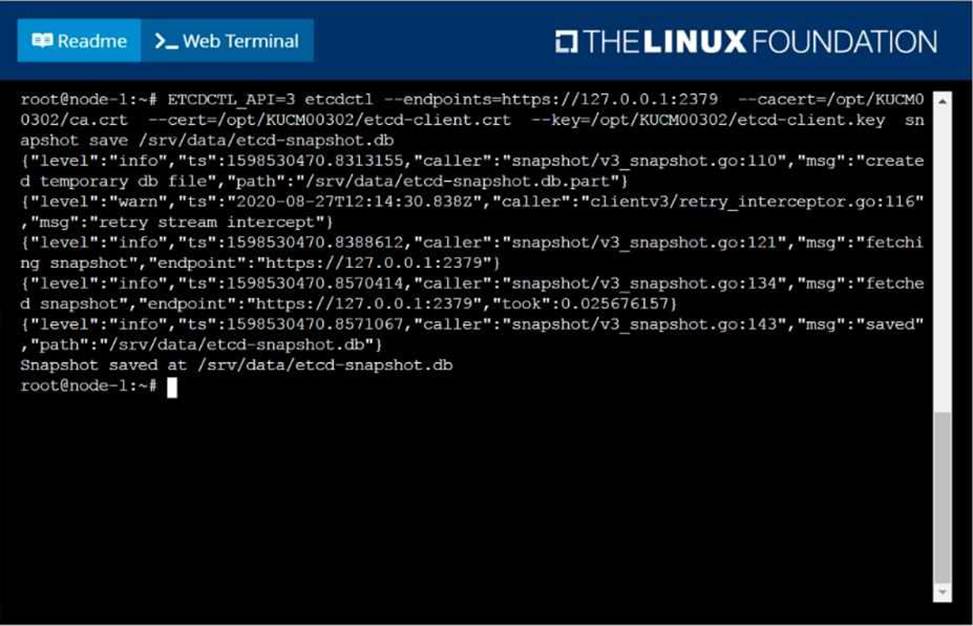
Create a snapshot of the etcd instance running at https://127.0.0.1:2379, saving the snapshot to the file path /srv/data/etcd-snapshot.db.
The following TLS certificates/key are supplied for connecting to the server with etcdctl:
CA certificate: /opt/KUCM00302/ca.crt
Client certificate: /opt/KUCM00302/etcd-client.crt
Client key: Topt/KUCM00302/etcd-client.key
SIMULATION
Score:7%
Context
An existing Pod needs to be integrated into the Kubernetes built-in logging architecture (e. g. kubectl logs). Adding a streaming sidecar container is a good and common way to accomplish this requirement.
Task
Add a sidecar container named sidecar, using the busybox Image, to the existing Pod big-corp-app.
The new sidecar container has to run the following command:
/bin/sh -c tail -n+1 -f /va r/log/big-corp-app.log
Use a Volume, mounted at /var/log, to make the log file big-corp-app.log available to the sidecar container.
#
kubectl get pod big-corp-app -o yaml
#
apiVersion: v1
kind: Pod
metadata:
name: big-corp-app
spec:
containers:
– name: big-corp-app image: busybox args:
– /bin/sh
– -c
– >
i=0;
while true;
do
echo "$(date) INFO $i" >> /var/log/big-corp-app.log;
i=$((i+1));
sleep 1;
done
volumeMounts:
– name: logs mountPath: /var/log
– name: count-log-1 image: busybox
args: [/bin/sh, -c, ‘tail -n+1 -f /var/log/big-corp-app.log’] volumeMounts:
– name: logs
mountPath: /var/log
volumes:
– name: logs emptyDir: {
}
#
kubectl logs big-corp-app -c count-log-1
SIMULATION
Create a pod with image nginx called nginx and allow traffic on port 80
SIMULATION
Perform the following tasks:
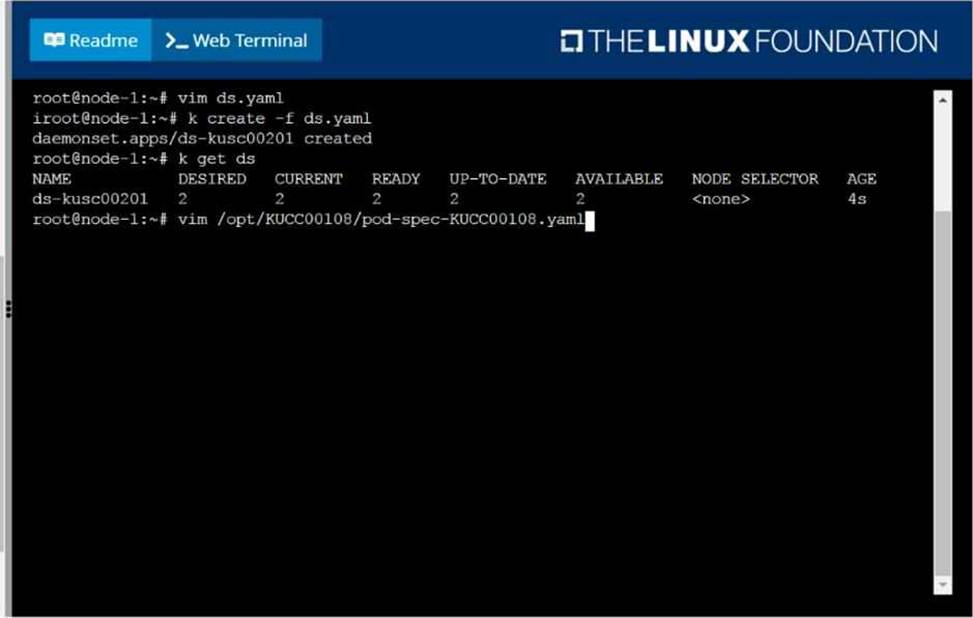
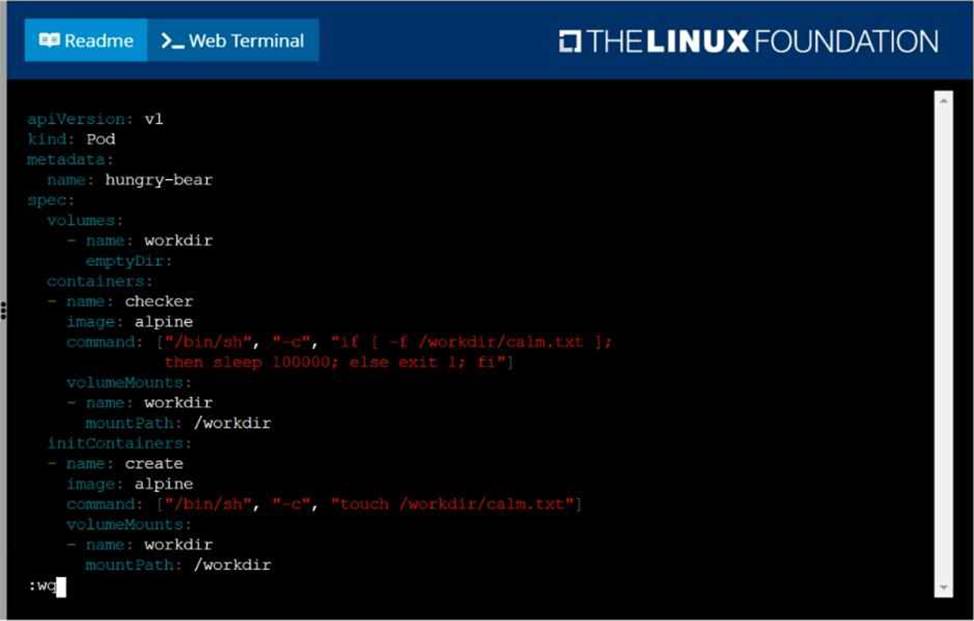
Add an init container to hungry-bear (which has been defined in spec file /opt/KUCC00108/pod-spec-KUCC00108.yaml)
The init container should create an empty file named/workdir/calm.txt If /workdir/calm.txt is not detected, the pod should exit
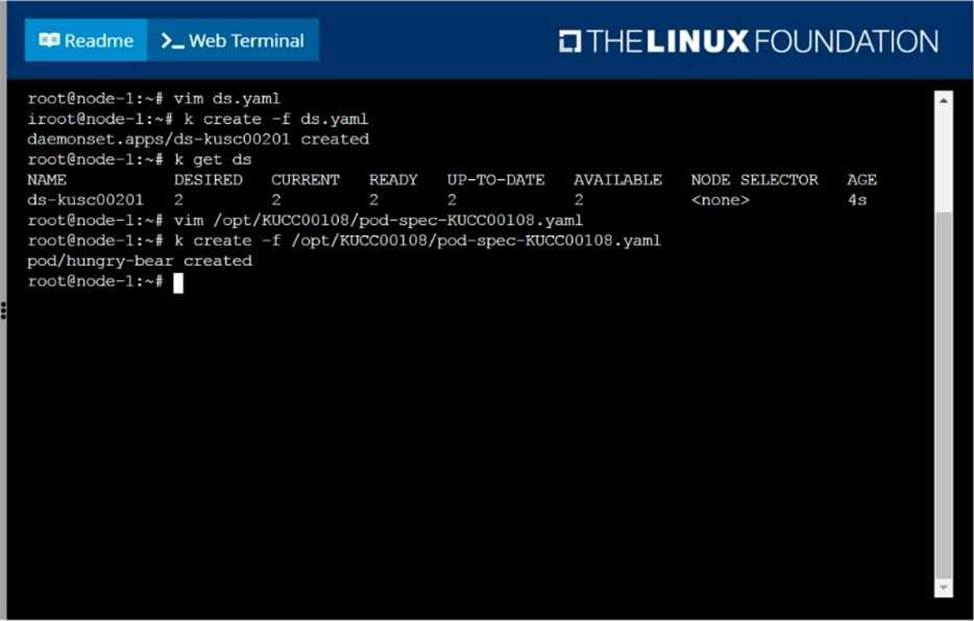
Once the spec file has been updated with the init container definition, the pod should be created
SIMULATION
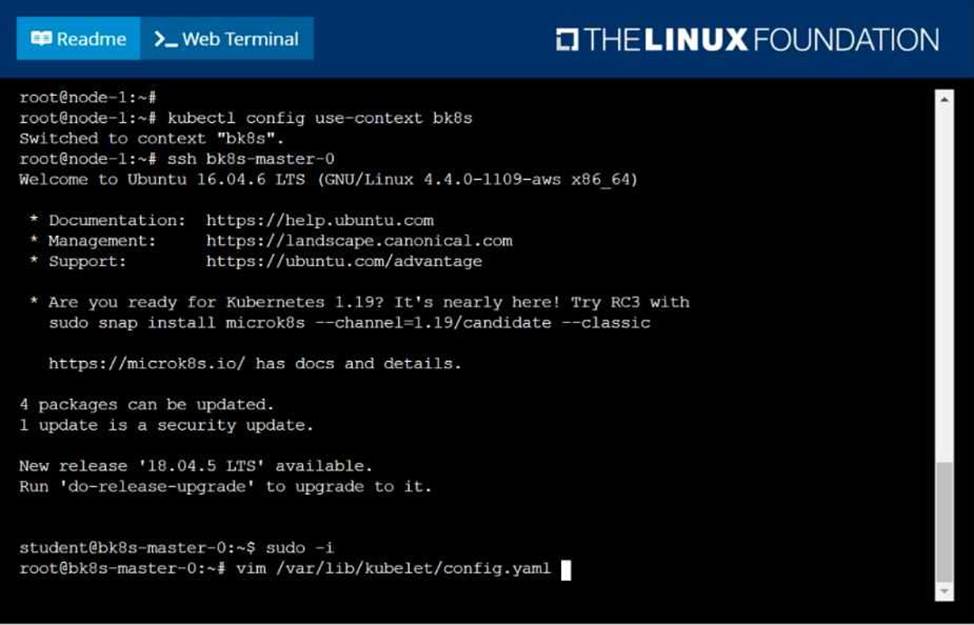
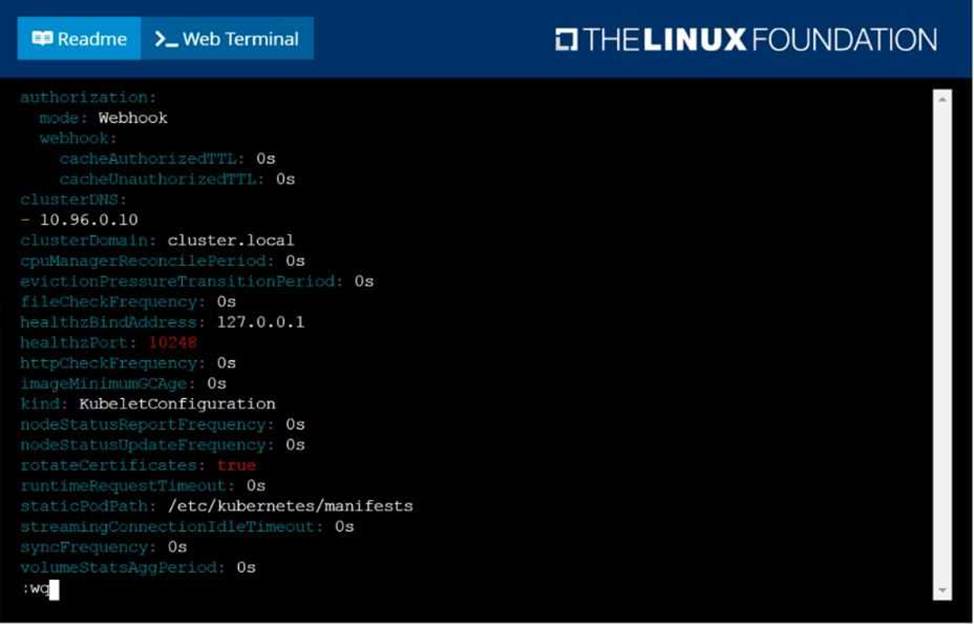
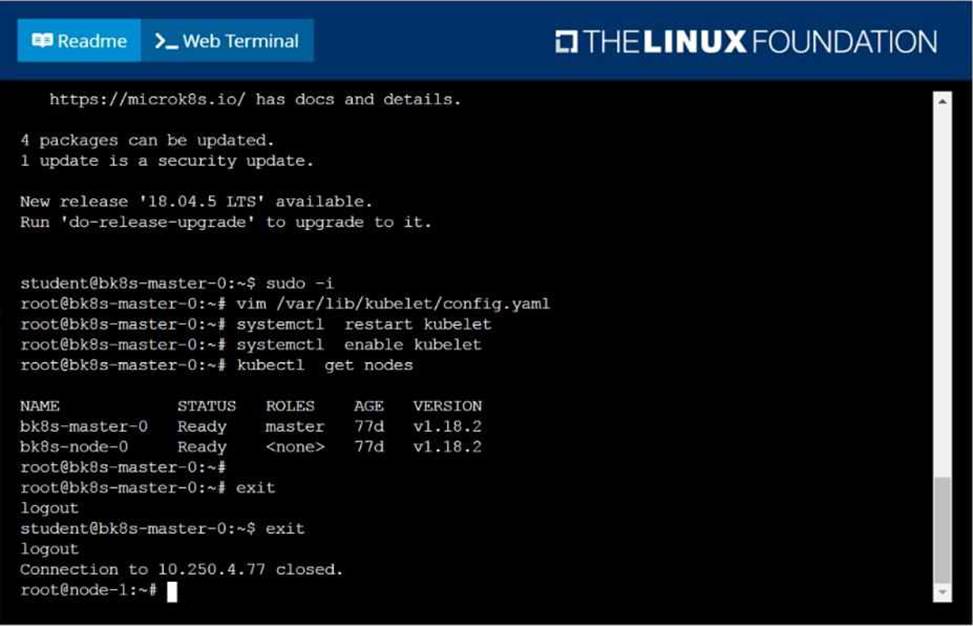
Given a partially-functioning Kubernetes cluster, identify symptoms of failure on the cluster. Determine the node, the failing service, and take actions to bring up the failed service and restore the health of the cluster. Ensure that any changes are made permanently. You can ssh to the relevant I nodes (bk8s-master-0 or bk8s-node-0) using:
[student@node-1] $ ssh <nodename>
You can assume elevated privileges on any node in the cluster with the following command:
[student@nodename] $ | sudo Ci